Developing smart tags for Excel,
Word, PowerPoint and Outlook in Delphi
|
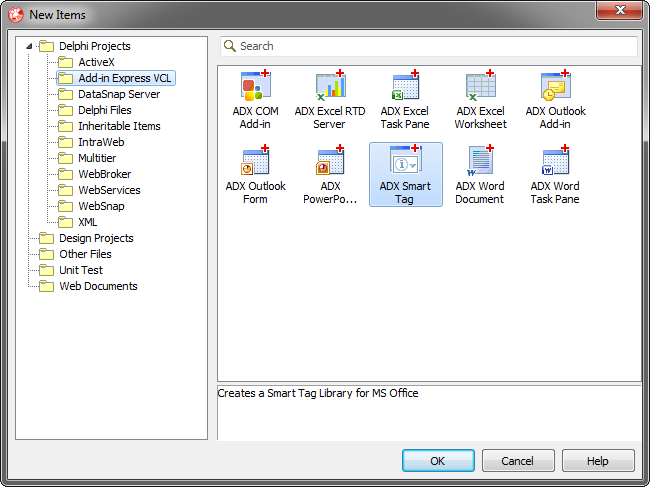
Add-in Express™ Add-in Express Home > Add-in Express for Office and Delphi VCL > Online Guide > Writing smart tags Developing Office smart tagsThis sample project implementing a smart tag is included in Add-in Express for Office and VCL sample projects available on the Download page. You can find many other examples on the How-To pages: Delphi for Outlook and Delphi for Excel. Step 1. Creating a new smart tag library projectMake sure that you have administrative permissions and run Delphi via the Run as Administrator command. Add-in Express adds the Smart Tag project template to the New Items dialog:
When you select the template and click OK, the Smart Tag project wizard starts. In the wizard windows, you choose the project options. The project wizard creates and opens the Smart Tag project in the Delphi IDE.
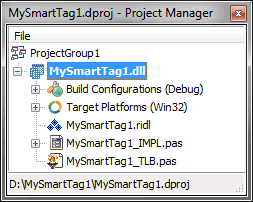
The smart tag project includes the following items:
Step 2. Smart Tag moduleThe smart tag module (MySmartTag1_IMPL.pas and MySmartTag1_IMPL.dfm) is the core part of the smart tag project. The smart tag module is a container for TadxSmartTag components. The code for MySmartTag1_IMPL.pas is as follows: The smart tag module contains three classes:
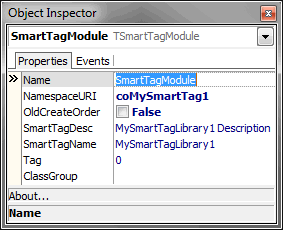
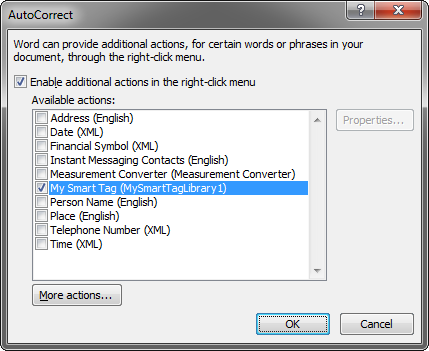
The "interfaced" classes are descendants of the TadxRecognizerObject class and the TadxActionObject class that implement the smart tag specific interfaces required by the smart tag architecture: ISmartTagRecognizer, ISmartTagRecognizer2, ISmartTagAction and ISmartTagAction2. Usually, you don't need to change anything in these classes. In the smart tag module class, we write the functionality to be implemented by the smart tag. The smart tag module is an analogue of the Data Module, but unlike the Data Module, the smart tag module allows you to set all properties of your smart tags. This is exactly what we are going to do now. Step 3. Smart Tag designerIn the Project Manager window, select the smart tag module, activate the Object Inspector window, specify your smart tag name in the SmartTagName property (this name appears in the Smart Tags tab on the host application AutoCorrect Options dialog box), and enter the description of the smart tag through the SmartTagDesc property. These properties depend on Office localization.
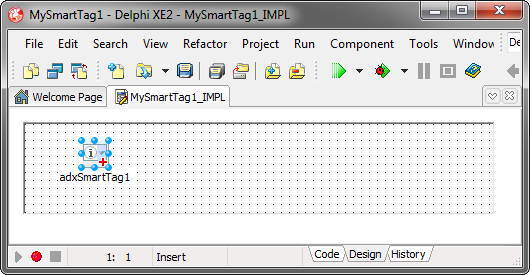
The designer of the Smart Tag Module allows setting smart tag library properties and adding TadxSmartTag components to the module. Step 4. Adding a new smart tagTo add a new Smart Tag to your library, select the Add-in Express tab on the Tool Palette, find the TadxSmartTag component and drag-n-drop it onto the Smart Tag module.
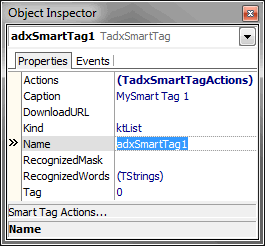
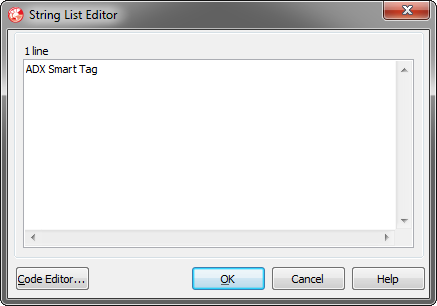
In the Object Inspector window, specify the caption for the added smart tag. The value of the Caption property will become a caption of the smart tag context menu. Also, specify the phrase(s) recognizable by the smart tag in the RecognizedWords string collection.
Say, in this sample Smart Tag, the words are as follows:
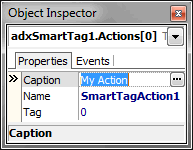
Step 5. Adding and handling Smart Tag actionsTo add a new smart tag action, right-click the smart tag component, select the Smart Tag Actions item on the pop-up menu, and, in the Editing window, click the Add New button. In the Editing window, select the action, activate the Object Inspector window, and fill in the Caption property. It depends on Locale. The value of the Caption property is shown as an item of the smart tag context menu (pop-up).
To handle the click event of this menu item, select the Events tab of the Object Inspector, double click the OnClick event, and enter your code: Step 6. Running your smart tagChoose Register ActiveX Server in menu Run, restart Word or Excel, enter the words recognizable by your smart tag into a document, and see if the smart tag works.
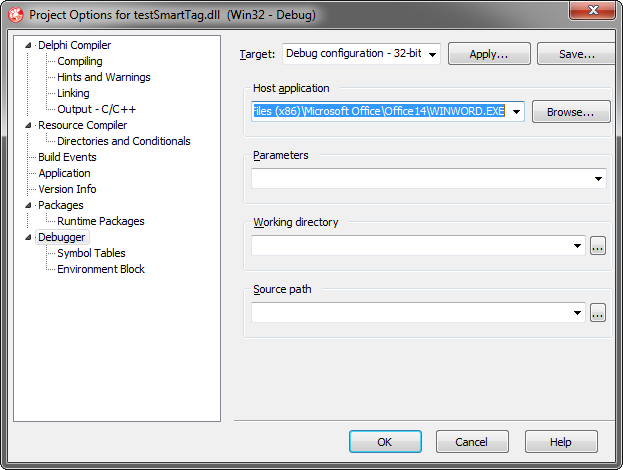
Step 7. Debugging the smart tagTo debug your Smart Tag, just indicate the add-in host application as the Start Program in the Project Options window.
Step 8. Deploying the smart tagMake sure your setup project registers the smart tag DLL. Say, in Inno Setup projects you use the 'regserver' command. |
